SERVING WA
Since 2009

To measure a store for shop fitting in 2026, draw the internal perimeter, record fixed obstacles and services, then plot the full footprint of each fixture and its operating space. Check customer routes, staff access and delivery openings before ordering; a shelving run that fits the wall still needs room for people, stock and doors to move.
Measure usable space, not just the room. A floor plan without door swings, projecting fittings or staff work areas leaves out the spaces that determine whether your layout works.
For your 2026 fit-out, separate the building survey from the fixture plan. You can compare Cheap Shelving commercial shelving and retail displays once you know the available space, rather than trying to squeeze a purchase into an incomplete drawing.
Work from the building shell towards the merchandise. The following sequence keeps fixed constraints separate from choices you can change.
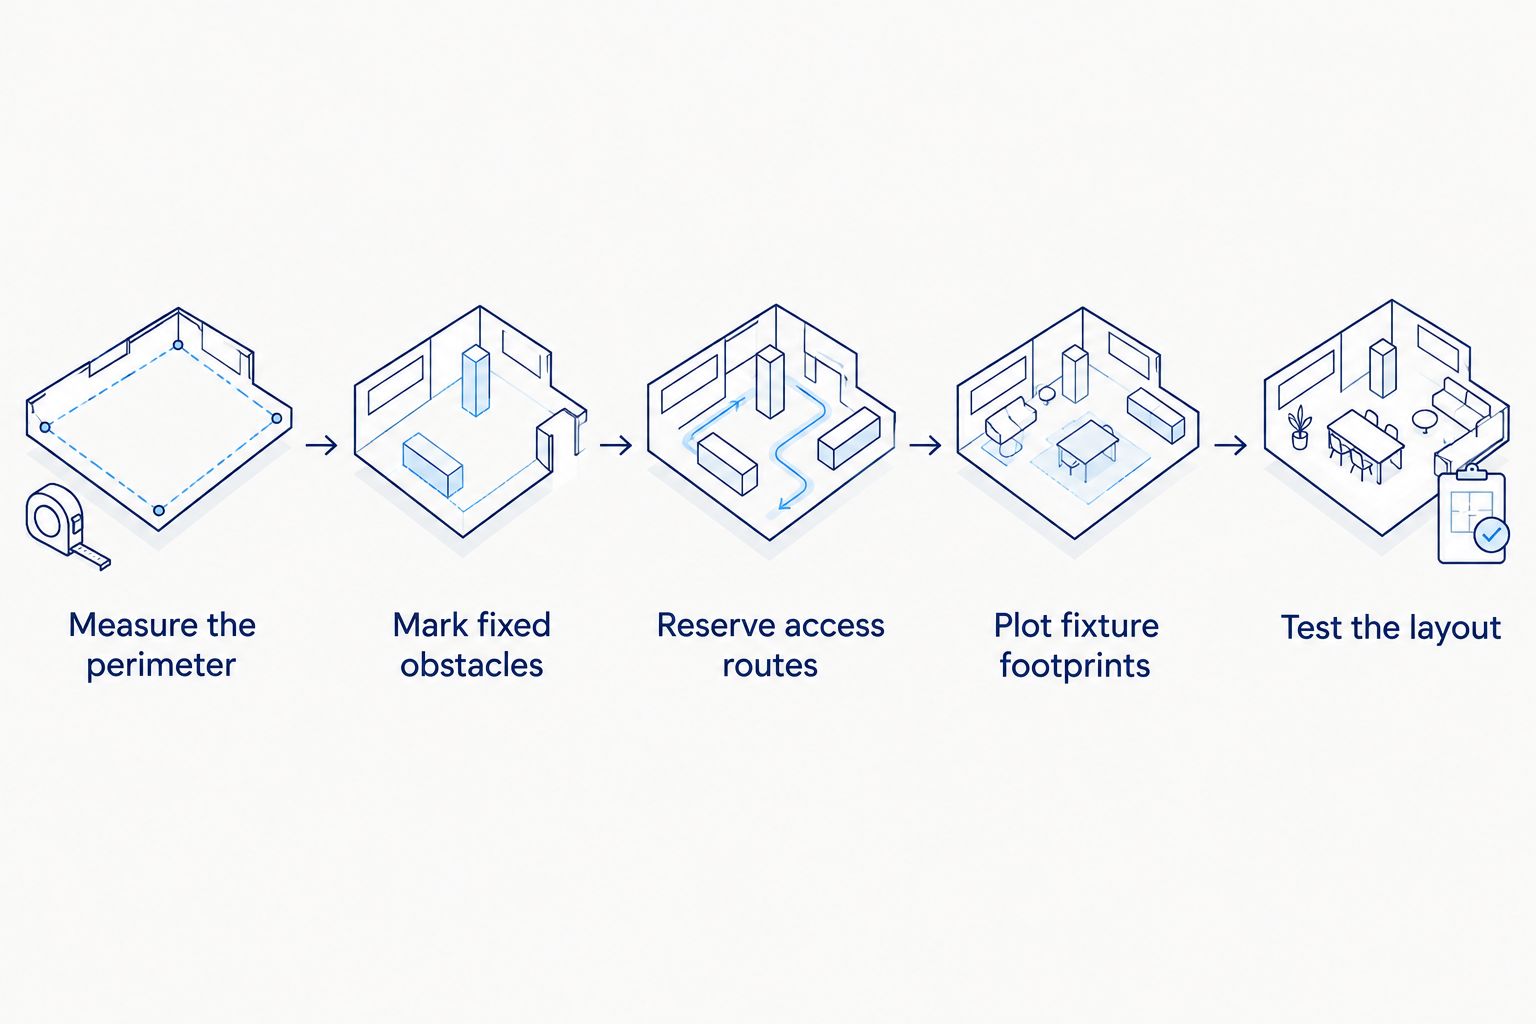
Start with a sketch showing the entrance, rear wall and adjoining rooms. Give each wall a letter so your measurements and photographs refer to the same location without relying on descriptions such as the wall beside the counter.
Measure between finished internal surfaces. Record dimensions in millimetres throughout the drawing, and label which direction each measurement follows. Mixing units or swapping width and depth creates avoidable ordering errors.
Record each wall segment separately where the perimeter steps around a recess or projecting column. For an irregular shop, divide the sketch into smaller shapes rather than forcing the whole tenancy into a rectangle.
Check opposing walls and take diagonal measurements where practical. Differences tell you to investigate the shape before treating corners as square. Do not adjust the drawing simply to make the measurements look tidy.
Measure wall lengths at the positions relevant to the proposed fixtures. Skirting, trims and other projections can reduce the space available at the base even when a measurement higher on the wall appears adequate.
Locate each obstacle from a consistent reference point, such as the same front corner. Measure both its position and its size so another person can reconstruct it on the plan.
Include:
Photograph these features and match the photographs to your sketch. A photograph explains an awkward detail, but it does not replace a dimension.
Record ceiling height and lower overhead obstructions where tall fixtures are proposed. Pipes, bulkheads and other services belong on the survey even when they do not occupy floor space.
Draw the route from the entrance to the sales floor and checkout before filling the plan with shelving. Then add the staff route between receiving, storage and replenishment areas.
Treat queues and restocking as activities that occupy space. A clear aisle on an empty drawing can become obstructed when a customer waits at the counter or a staff member stops beside a shelf.
Show the narrowest point along each route, not just the distance between the main shelving runs. End displays, handles, projecting stock and freestanding signs all need checking.
Do not treat a guessed aisle width as compliance advice. Have the proposed layout checked against the applicable access, building and fire requirements by the appropriate qualified adviser. Record the confirmed requirements on the plan before fixing fixture positions.
Use the complete assembled dimensions of each proposed fixture. Shelf depth alone does not establish the footprint of a unit with a base, feet, brackets or other projections.
For each fixture, record its width, depth, height and orientation. Ask the supplier to clarify which dimensions describe the entire assembled unit and which describe only a component.
Keep separate outlines for the physical footprint and the space needed to use it. A cabinet door, drawer, stock trolley or customer standing at a display needs room outside the fixture itself.
Use moveable paper shapes or drawing objects for the fixtures. You can compare layouts without repeatedly altering the underlying survey, and the fixed obstacles remain visible throughout the process.
Mark proposed fixture edges on the floor with removable tape suitable for the surface. Walk the entrance route, approach the checkout and simulate restocking with the equipment you actually use.
Check corners and junctions carefully. They are where a layout that looks orderly on paper can become difficult to turn through or replenish.
Repeat critical measurements before ordering, particularly wall runs, delivery openings and spaces between fixed obstacles. Date the checked plan in 2026 and identify its revision so the supplier, installer and store team all work from the same drawing.
Different display types use floor space differently. Compare both the measured footprint and the access each fixture needs; none is the right choice for every stock category.
The examples below use listed product dimensions, not suggested aisle clearances or installation allowances. Confirm the complete assembled specification before adding any item to your order.
| Fixture example | Listed dimensions | Best for | Benefit and limitation to assess |
|---|---|---|---|
| 3 Tier Display Table 1500x1050x1300 | 1500mm long, 1050mm wide, 1300mm high | Comparing a tiered table with your open display zone | Provides tiered display space; requires an open-floor footprint and assembly |
| Mobile Display dump Bin 900x600 | 900mm long, 600mm wide, 900mm high | Planning a mobile bin display zone | Includes an adjustable wire middle shelf; customer and staff access needs additional space |
| Glass Display Cabinet with LED Light (ELC) | 1980mm high, 400mm wide | Checking vertical display space | Includes LED light strips and tempered glass shelves; the listed description does not establish the complete floor footprint |
Do not infer a missing dimension from a product photograph. For example, a cabinet described by height and width still needs a confirmed overall depth before you can place it accurately on a floor plan.
Cheap Shelving is best suited to Perth and WA retailers sourcing commercial shelving and retail displays. Match the selected fixture to your measured space; a product category or photograph alone does not establish installation suitability.
The measurement process stays consistent, but these physical and operational differences change what you need to record:
Keep these items on the drawing rather than in a separate conversation. A supplier assessing a bare rectangle cannot see a service panel or opening that has been left off the plan.
Measure floor changes as well as floor area. Record where a slope, step or uneven section crosses a proposed fixture position, and have the installer assess its effect before installation.
Establishing a common height reference is a separate task from measuring wall lengths: laser levels for commercial fit-outs help compare elevations across a space, while a tape or distance measure records the plan dimensions. A level reference does not confirm that a fixture is anchored correctly or suitable for its load.
Check the delivery route from the receiving point to the final position. Record clear door openings, corridor turns, stairs, lifts and overhead restrictions along that route, not merely the shopfront opening.
Ask for packaging dimensions and assembly requirements before committing to a bulky fixture. An assembled item and a flat-packed item create different handling questions, so the delivery check needs the actual configuration being supplied.
Your 2026 measurement sheet should allow a supplier or installer to understand the space without guessing. Put the following information beside the drawing rather than relying on a verbal explanation.
Keep measurements separate from assumptions. Mark an unconfirmed fixture dimension as awaiting confirmation rather than filling the gap with a visual estimate.
For a Perth retailer comparing layouts with an Australia-wide online supplier, labelled photographs make unusual site details easier to explain. Include a view along each proposed fixture run and a close view of anything that interrupts it.
Measure the store before selecting a shelving configuration. You can shortlist fixture types first, but commit to quantities and sizes only after recording the space and checking the proposed arrangement.
A wall run needs more than a total length. Confirm how the selected system starts, joins and finishes, including any end components or projections, before calculating how many units fit.
The same principle applies to future expansion. Keep a clearly marked alternative layout if you expect to change the range, rather than treating every unoccupied patch of floor as spare display space.
Test the operating layout, not the maximum number of fixtures. Begin with the essential stock categories and checkout functions, then add secondary displays only where customer movement and staff tasks remain workable.
Compare alternative layouts using the same survey and fixture dimensions. Do not make one option appear more spacious by leaving out its basket stand, queue or restocking equipment.
For your 2026 layout review, ask a staff member to walk a normal replenishment task while someone else follows the customer route. Record where they have to stop, turn back or move an object, then adjust the plan before ordering.
What do I measure first when planning shop fittings?
Measure the internal perimeter first, then locate fixed obstacles from a consistent reference point. Add fixtures only after the building survey is clear.
Can I use the floor area shown on my lease?
Use the lease floor area as background information, not as a fixture layout. You still need internal dimensions, opening positions and fixed obstacles.
Should I measure shop fittings in millimetres or metres?
Record fixture and layout dimensions in millimetres consistently. Clearly label the units so measurements are not confused when you share the drawing.
How wide should the aisles in my shop be?
Set aisle widths using the applicable access, building and fire requirements, with advice appropriate to your premises. Check the narrowest clear point after accounting for fixtures, stock and projections.
Can Cheap Shelving product photos replace a dimensioned plan?
Cheap Shelving product photos do not replace confirmed overall dimensions or a measured store plan. Check the complete fixture footprint and operating space before ordering.
Do I need to measure ceiling height for retail shelving?
Measure ceiling height and lower overhead obstructions wherever tall fixtures are proposed. Include bulkheads, pipes and other services that affect the available space.
Should I remeasure before ordering shop fittings in 2026?
Remeasure critical spaces before ordering shop fittings in 2026. Confirm wall runs, delivery openings and gaps between fixed obstacles against the final drawing revision.
Measure the route into the store as carefully as the space inside it. A fixture footprint proves only where the item will stand, not whether you can move it through a doorway and around the next corner.
Keep the delivery-route check attached to the final layout. It belongs in the ordering decision, not in the conversation when the fixture arrives.
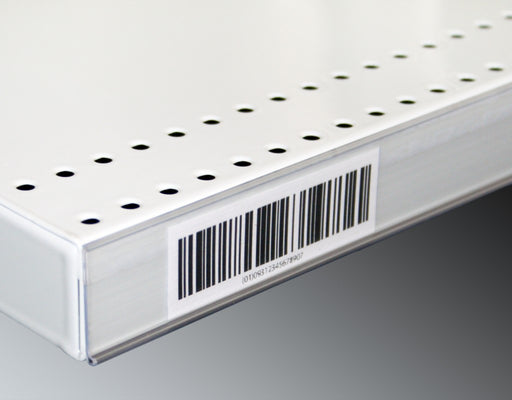
Upgrade your store's pricing and product labeling system with our Flat Adhesive Data Stripping. This cost-effective solution is designed to simplif...
View full details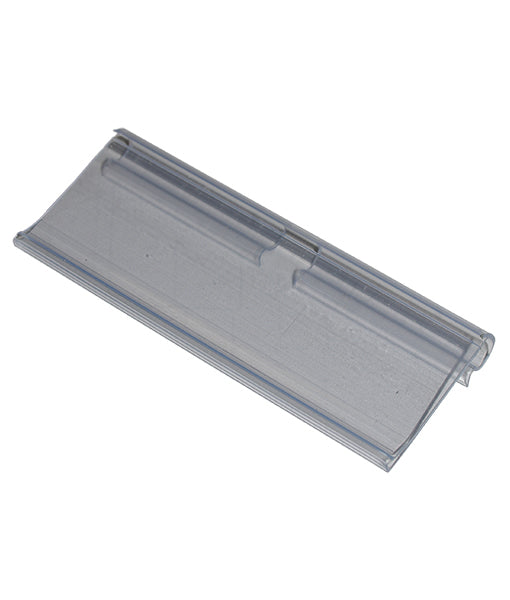
Enhance your store's product labeling and pricing system with our 100-Pack Flipper Tags. These versatile and easy-to-use tags are designed to strea...
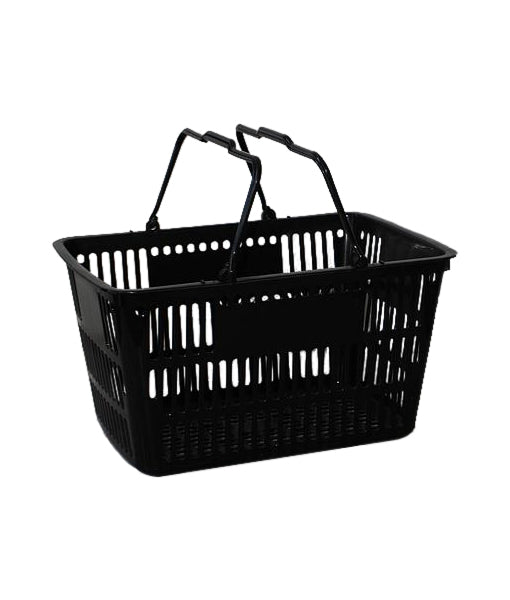
View full detailsUpgrade your customers' shopping experience with our 28 litre Shopping Baskets featuring Metal Handles. These robust and stylish baskets are design...
View full detailsMake shopping a breeze for your customers with our 28 Litre Shopping Baskets featuring Plastic Handles. These lightweight and sturdy baskets are de...
View full detailsRevolutionize your customers' shopping experience with our Roller Shopping Baskets. These innovative baskets are designed for maximum convenience, ...
View full details{"one"=>"Select 2 or 3 items to compare", "other"=>"{{ count }} of 3 items selected"}