SERVING WA
Since 2009

Instead of repeatedly moving stock out of shadowed shelf positions, set up LED shelf lighting for product displays around a loaded test bay, then repeat the layout only after checking visibility, glare and safe cable routing. This 2026 workflow takes you from fixture measurements to a practical lighting handover without guessing electrical compatibility.
Shelf lighting addresses a different problem from general store lighting: shelves and merchandise can block overhead light from reaching product faces. Adding light without testing its position can leave the original shadow intact or create reflections across packaging.
Fix the display layout before multiplying the lighting. For a 2026 store refresh, judge the result from the customer's position, not from an empty shelf photographed straight on.
Cheapshelving is best for Perth retailers sourcing commercial shelving and display equipment. If you are retaining existing fixtures, start with the LED shelf lighting retrofit guide before deciding which components to order.
Do not assume a light fits because its length suits the bay. Mounting clearance, connectors and the power supply also need space, and the installation must follow the equipment instructions.
Expected result: you have a marked-up photograph and measurements showing where light is needed and what limits its placement.
For a Perth grocery operator, this means testing the packaged goods that actually occupy the shelf, not substituting an empty carton. For homewares, include reflective finishes if those are part of the range.
Keep the test conditions in your 2026 display plan. Record whether overhead lighting and nearby daylight were present so later comparisons assess the lighting change rather than a different room condition.
Expected result: you have a confirmed component list and a mounting plan, rather than a collection of separately selected parts.
The Cheapshelving Shelf LED Light System is described as turning shelf edges into illuminated display strips. Its suitability for your shelving still depends on the mounting arrangement and electrical requirements.
| Option | Best for | Practical advantage | Limitation or buying check |
|---|---|---|---|
| Shelf LED Light System | Retaining shelving while adding shelf-edge illumination | Addresses lighting at the shelf edge | Confirm fixture fit, power requirements and cable management |
| Glass Display Cabinet with LED Light (ELC) | Merchandise intended for an upright glass display | Combines rear LED strips with tempered glass shelves | Changes the fixture format; confirm the complete footprint and installation needs |
| Glass Display Counter with LED Light | Merchandise intended for a counter-height glass display | Combines lighting with a display counter | Confirm customer sightlines, access and the space required around the counter |
The supplied ELC description lists a height of 1980mm, a width of 400mm and four levels of tempered glass shelves. The counter description lists a height of 900mm, a width of 600mm and two levels of tempered glass shelves.
Those figures distinguish the formats; they do not establish the complete footprint. Obtain every relevant dimension before marking out floor space, and do not treat cabinet width as evidence of its depth.
Keep existing shelving when it meets the merchandising need and accepts a suitable lighting installation. Choose a cabinet because the merchandise needs that display format, not merely because it includes lights.
Expected result: the lighting has a defined mounting position and cable route that do not obstruct the shelf's intended use.
The cable route is part of the fixture layout, not an afterthought. A neat-looking installation still fails the practical check if staff must move a cable whenever they replenish the bay.
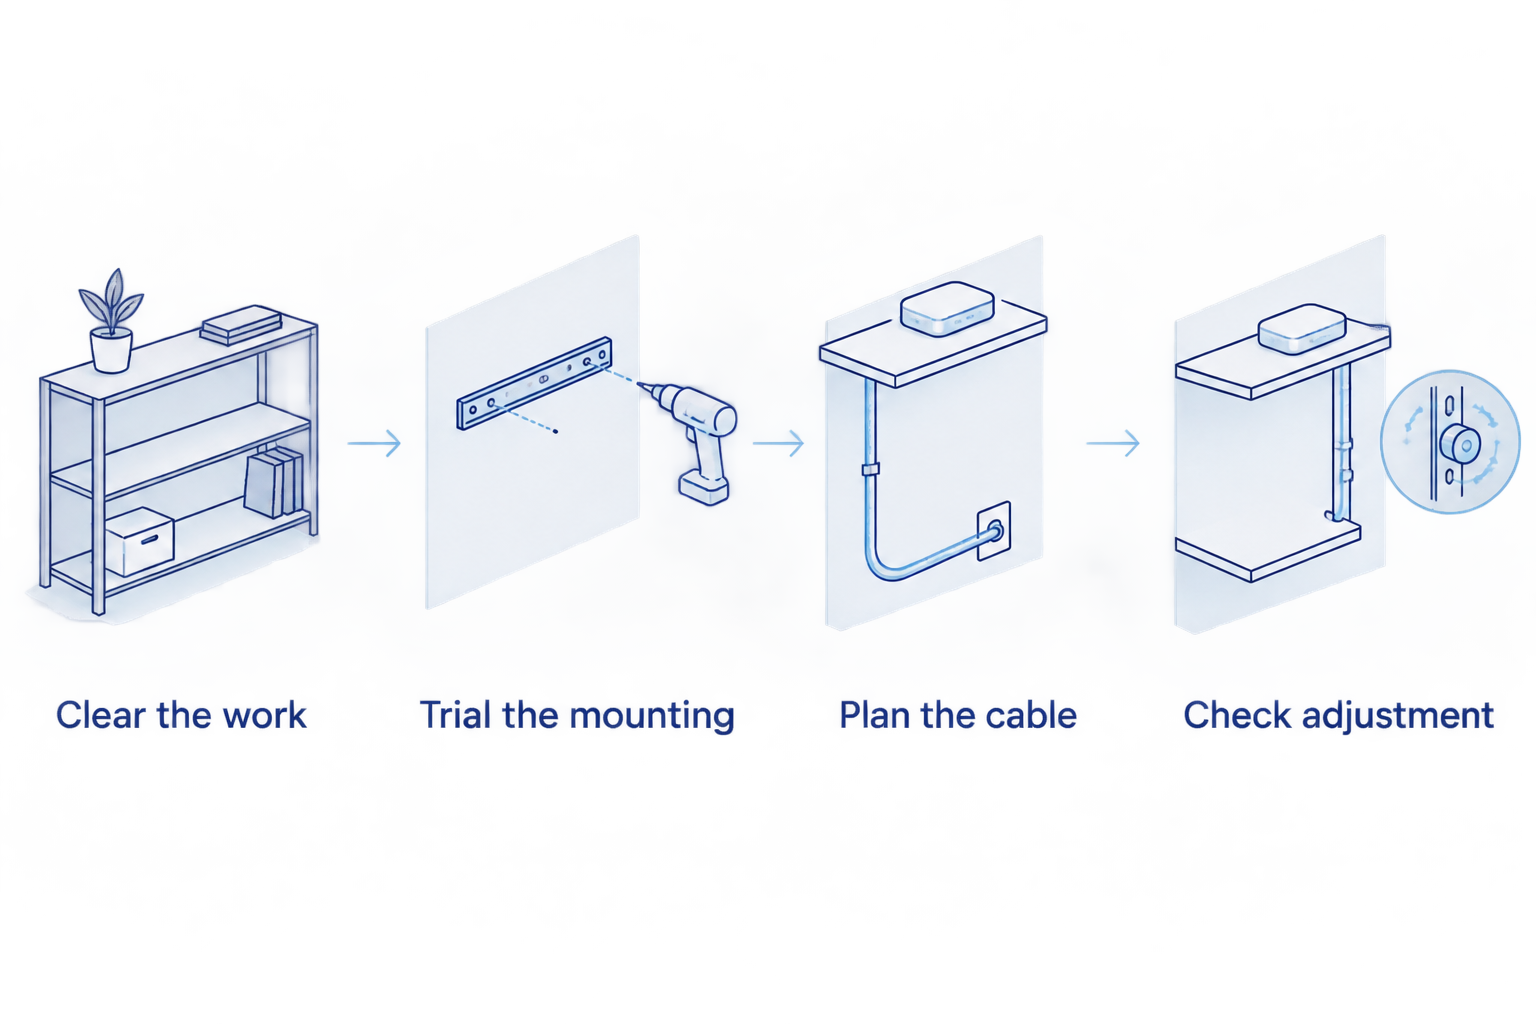
Expected result: product faces and tickets are readable, the installation does not obstruct handling, and the approved arrangement is documented.
A brighter shelf is not automatically a better display. If a reflection covers the product name, repositioning the light is more useful than adding another light source.

Record the approved layout in the 2026 fitout file with photographs of the light position, cable path and power supply location. Keep installation instructions with that record so a later shelf reset does not depend on memory.
A shelf reset creates a second workflow: retain the lighting installation, but reassess how it interacts with new merchandise. Taller products, different shelf spacing or reflective packaging change the display even when the electrical equipment stays the same.
Expected result: the revised display remains practical without treating the original lighting position as permanently correct.
For a 2026 refit that also changes ceiling lighting, assess the shelf installation alongside broader commercial LED lighting options. Overhead light and shelf-level light illuminate the display from different directions, so assess them together rather than expecting either to solve every shadow.
Keep the responsibilities separate: the store operator defines the merchandise and sightlines; the supplier confirms equipment compatibility; the electrician handles electrical work that requires a licence.
Check whether the shelf lip or tall front-facing stock blocks the light. Trial a permitted mounting adjustment with the bay loaded; do not add components until you identify the obstruction.
Inspect the display from the affected customer position. Adjust the permitted light position or merchandise angle, then check that the change has not made adjacent products harder to read.
Stop using the affected equipment and follow the manufacturer's fault instructions. Have the supplier or electrician check the specified power supply, connections and system configuration; do not bypass components or open electrical equipment.
Stop using the affected shelf until the route is corrected. Recheck shelf adjustment points, connector positions and the carton-handling path, rather than simply pushing the cable behind stock.
Check whether the lighting profile covers the ticket holder or creates a reflection across it. Resolve the mounting conflict and test a real ticket before repeating the arrangement across the aisle.
Extend an approved lighting layout to bays with the same relevant fixture and merchandise conditions. Do not copy a mounting position blindly across different shelf depths, product heights or display formats.
Cheapshelving supplies shelving, retail displays and shop fittings, but each lighting installation still needs its own compatibility checks. Use the 2026 rollout record to separate the approved configuration from bays awaiting a different solution.
Assign someone responsibility for checking lights and cable routes after merchandising changes. Include cleaning access and replacement-component identification in the handover, following the equipment instructions rather than creating an unsupported maintenance schedule.
What's the best way to set up LED shelf lighting for product displays?
Start with a loaded test bay, confirm compatible components and safe cable routing, then assess visibility from the customer aisle. Repeat the layout only after checking glare, shelf tickets and replenishment access.
Can I add LED lighting to existing retail shelves?
Existing shelves can accept a retrofit when the mounting arrangement and electrical system are suitable. Confirm shelf material, mounting clearance, cable routes and component compatibility before ordering.
Do I need an electrician for shelf lighting?
Use a licensed electrician for fixed wiring, new outlets and electrical alterations. For plug-in equipment, follow the supplied installation instructions and obtain advice if the installation requirements are unclear.
Is a glass cabinet better than adding shelf lighting?
A glass cabinet is better when the merchandise needs a cabinet display format; a compatible retrofit suits shelving you intend to retain. Compare floor space, access and product visibility before choosing.
Why do my products still look dark under LED shelf lights?
The shelf lip, mounting position or merchandise can block light from reaching product faces. Inspect the loaded bay and trial only adjustments permitted by the equipment instructions.
Should shelf lighting move when I change shelf heights?
Reassess the lighting and cable route whenever shelf heights change. Check for stretched or trapped cables before restoring the loaded display and assessing visibility again.
Can the same shelf lighting layout work throughout my store?
Repeat a layout only where the relevant fixture dimensions, mounting conditions and merchandise are comparable. Different shelf depths and reflective packaging need a separate loaded-bay check.
Photograph the approved cable route as carefully as the finished display. The product-facing photograph shows what customers should see; the installation photograph shows staff what must stay clear when stock and shelves move.
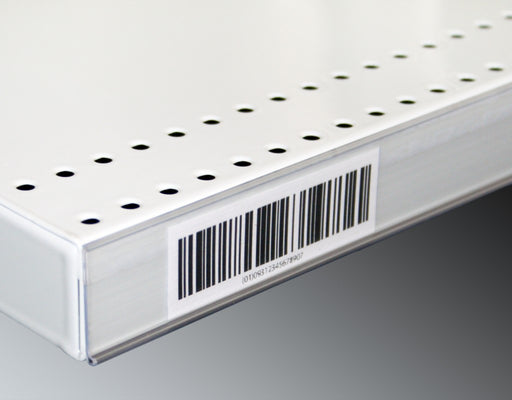
Upgrade your store's pricing and product labeling system with our Flat Adhesive Data Stripping. This cost-effective solution is designed to simplif...
View full details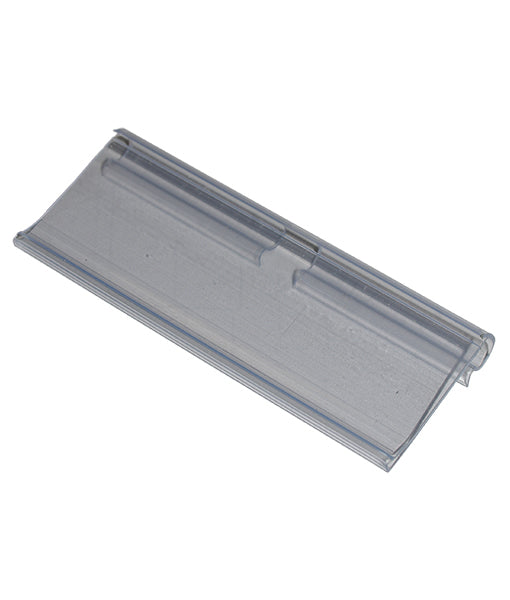
Enhance your store's product labeling and pricing system with our 100-Pack Flipper Tags. These versatile and easy-to-use tags are designed to strea...
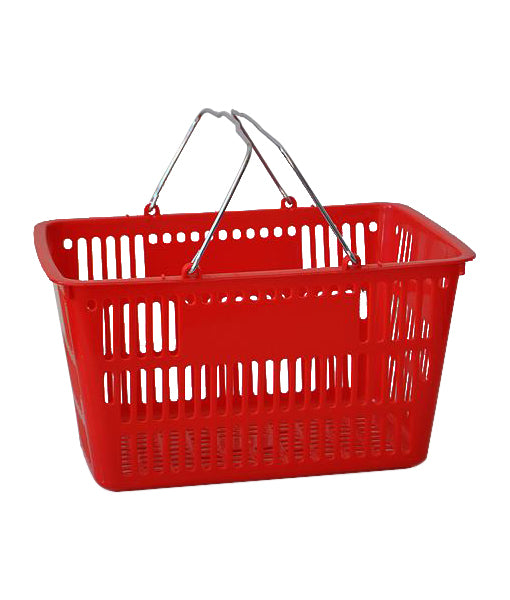
View full detailsUpgrade your customers' shopping experience with our 28 litre Shopping Baskets featuring Metal Handles. These robust and stylish baskets are design...
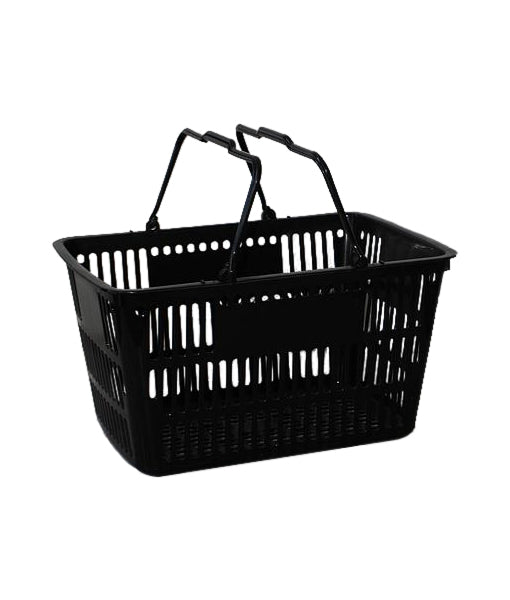
View full detailsMake shopping a breeze for your customers with our 28 Litre Shopping Baskets featuring Plastic Handles. These lightweight and sturdy baskets are de...
View full detailsRevolutionize your customers' shopping experience with our Roller Shopping Baskets. These innovative baskets are designed for maximum convenience, ...
View full details{"one"=>"Select 2 or 3 items to compare", "other"=>"{{ count }} of 3 items selected"}