SERVING WA
Since 2009

Instead of rebuilding your product wall whenever stock changes, set up slatwall panels around a documented fixture layout, then repeat the same fit, loading and presentation checks. This workflow takes you from wall measurements to a display your staff can replenish and reset consistently.
Cheap Shelving is best for Perth and WA retailers sourcing commercial shelving and retail display equipment. Use the Cheap Shelving range as a starting point, then check each selected component against your wall, merchandise and installation requirements.
A slatwall display needs more than panels and matching-looking accessories. The wall support, panel installation, fixture connection and merchandise load must work together; a neat arrangement does not establish that the installation is suitable.
For your 2026 fit-out, separate structural decisions from merchandising decisions. Confirm the installation first, then organise products for visibility and replenishment. This avoids buying accessories around a layout that the wall or panel system cannot support.
Keep these records together in your 2026 display setup file. If installation instructions or load information are unclear, resolve them with the supplier before proceeding; do not substitute a generic fixing pattern or an estimated capacity.
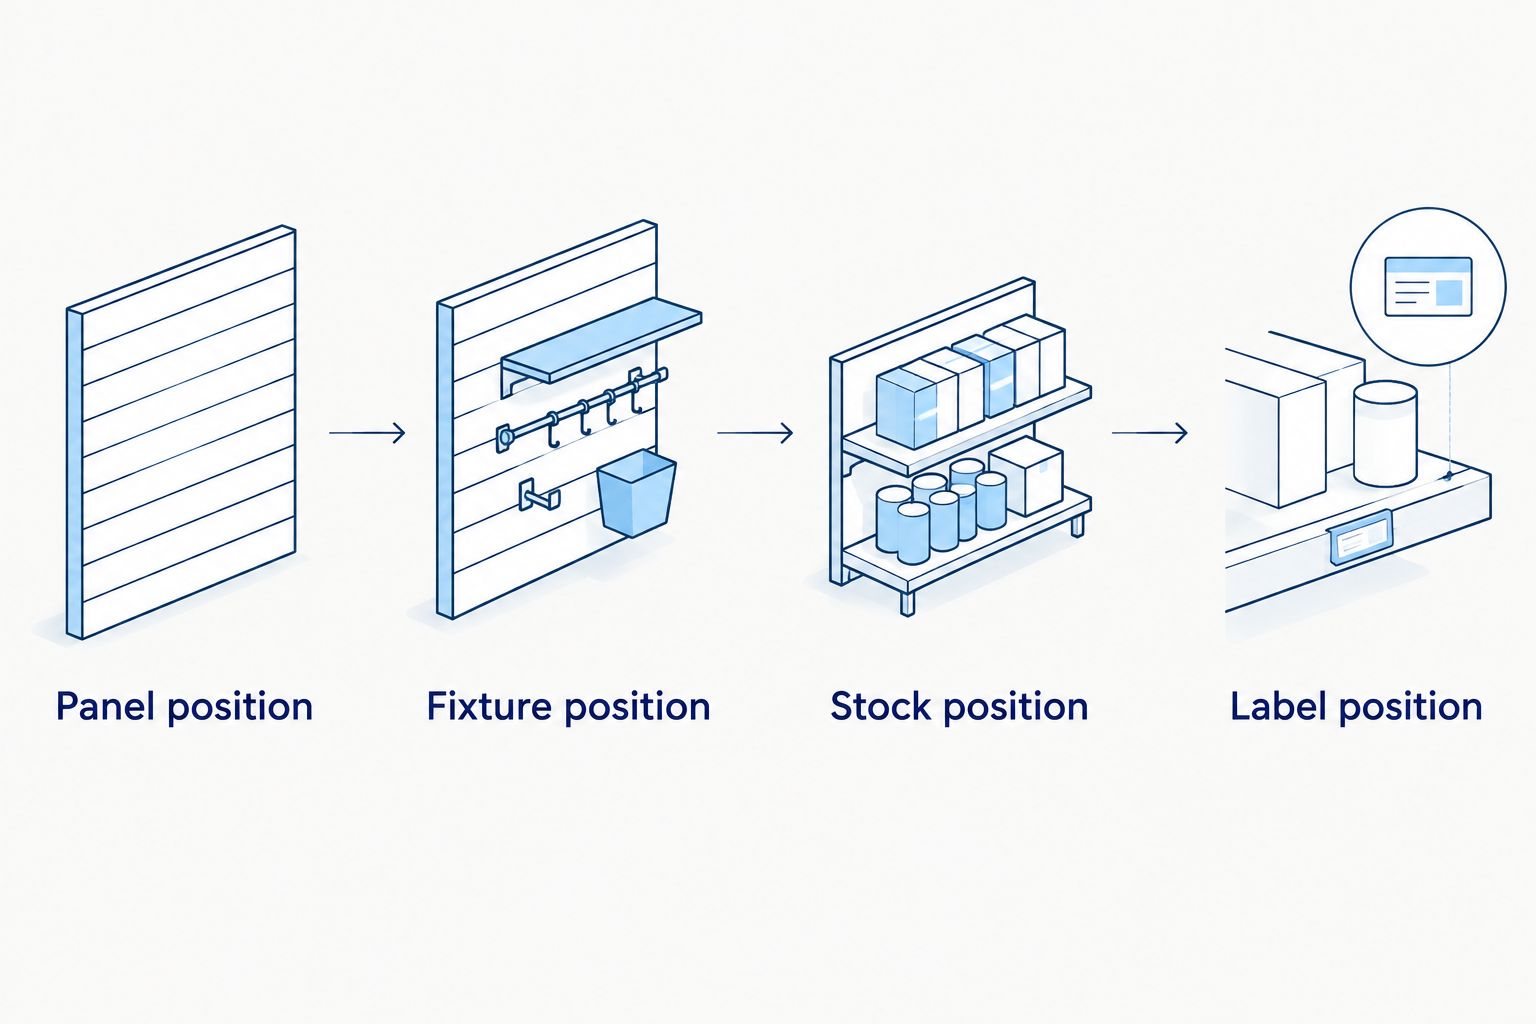
Your 2026 layout should distinguish panel position, fixture position, stock position and label position. Those four records make later changes easier to trace without redrawing the entire shop.
Expected result: You have a measured drawing, a merchandise list and a confirmed installation approach. No component depends on a guessed wall size, fixing method or product weight.
Cheap Shelving lists the following panel and accessory options. Best for describes the proposed display task, not a verified load capacity; confirm suitability for your particular combination.
| Panel or accessory | Best for | Practical advantage | Limitation or buying check |
|---|---|---|---|
| Slatwall 2400 x 1200 | Creating the panel surface for a planned wall display | Its description specifies 11 aluminium extrusions at 100mm centres | Confirm orientation, usable dimensions, installation requirements and accessory compatibility |
| Slatwall Single Prong Hook (Pack of 100) | Hanging merchandise with a compatible hanging opening | Provides a single-prong fixture option | Check packaging fit, accessory seating and permitted loading |
| Slatwall - 5-Ball Sloping Arm 300mm | Merchandise arrangements requiring a sloping arm | Offers a 300mm sloping-arm option | Check the complete merchandise projection and intended use |
| Slatwall - Straight arm/shelf bracket 400mm | Layouts requiring a straight arm or shelf bracket | Offers a 400mm straight-arm/shelf-bracket option | Confirm the intended configuration, shelf support requirements and loading guidance |
A 300mm arm and a 400mm bracket are not interchangeable choices simply because both connect to slatwall. Their intended use and projection differ. Assess the merchandise, supporting components and aisle interaction before choosing between them.
Expected result: The panel installation is complete and checked, and each selected accessory has a confirmed role. You have not treated a product name or nominal length as proof of compatibility.
For a Perth hardware retailer, this means checking the actual hanging pack rather than assuming all packs sit alike. For a boutique, use the actual hanger and garment when assessing spacing. The same measurement-first process applies to Australia-wide buyers planning a display remotely.
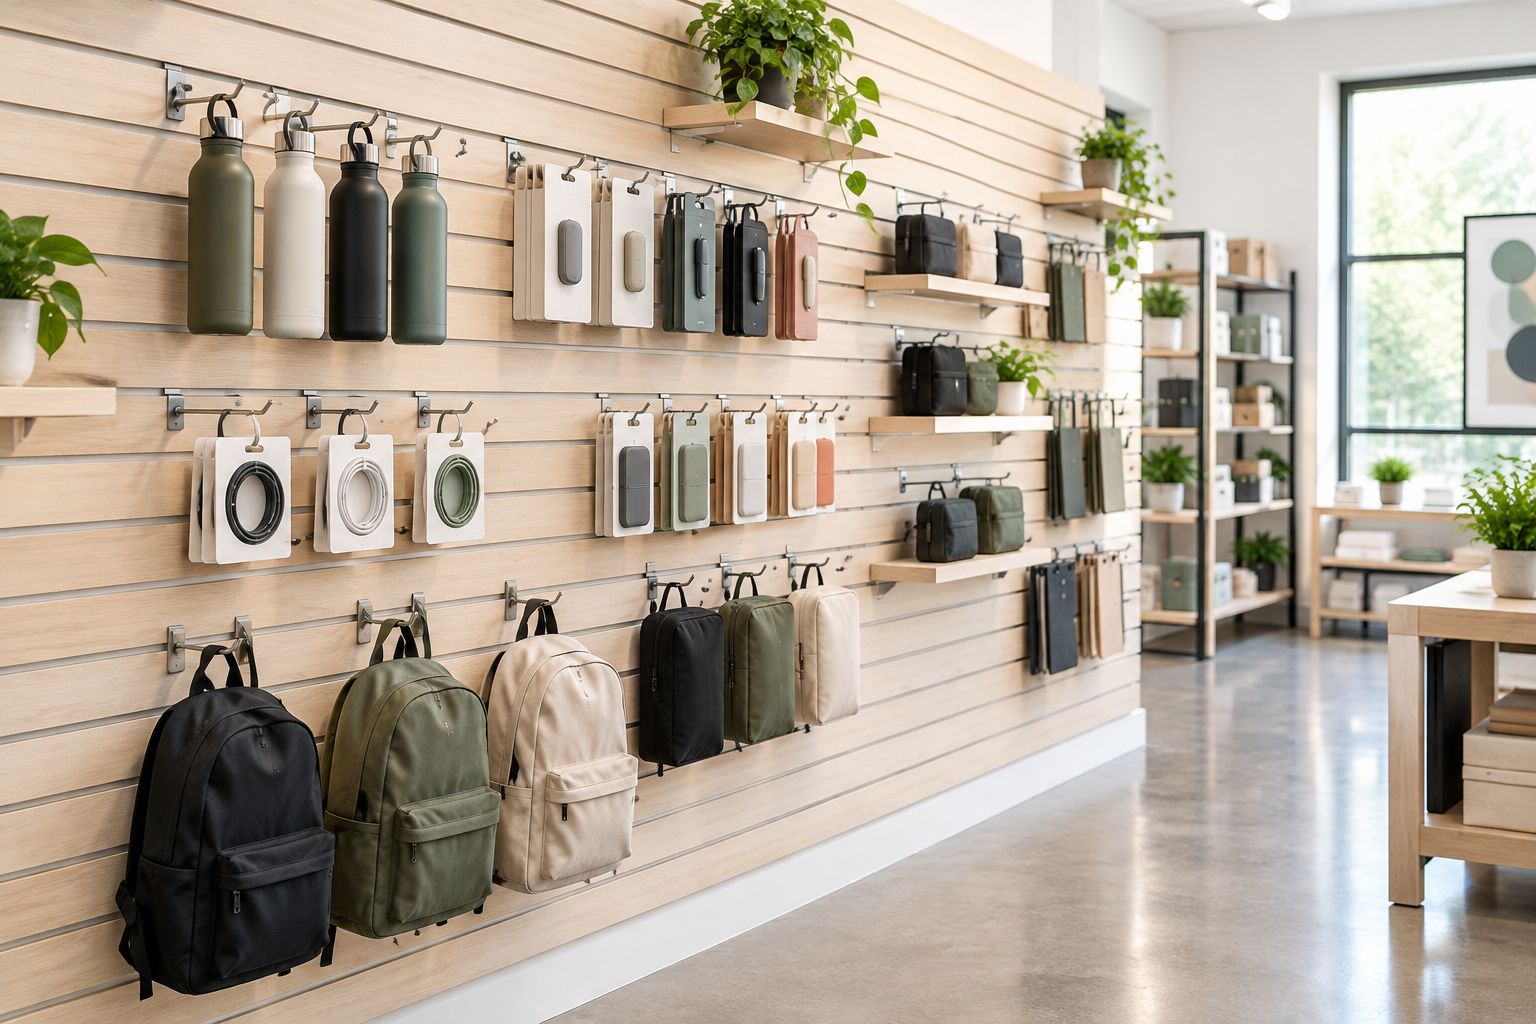
Expected result: Products fit their fixtures, remain identifiable and can be removed without disrupting the display. The final arrangement follows the confirmed installation and loading requirements.
Expected result: Another staff member can reproduce the approved display without choosing new fixture positions or guessing how much merchandise belongs on each support.
A seasonal reset is the adjacent workflow: retain the approved panel installation, then reassess the merchandise and accessory arrangement. A previous display approval does not automatically cover a different product, fixture or load.
If your 2026 promotional calendar changes frequently, keep the base layout and each approved reset clearly identified. This prevents staff from combining a photograph from one arrangement with quantities or accessories from another.
Expand the process by merchandise category, not by adding accessories wherever there is space. A hardware wall needs packaging and hook checks; a gift display needs checks around product footprint, presentation and removal.
For a more specific starting point, use the guide to slatwall panels for hardware and trade stores. Apply its category focus to your own merchandise samples rather than copying another store's spacing.
Keep the 2026 master drawing separate from daily replenishment notes. Record structural or fixture changes in the master file, and use the daily notes for misplaced stock, missing labels and other presentation corrections.
What's the first step when setting up slatwall panels?
Measure the usable wall and confirm its suitability for the proposed panel installation. Identify the merchandise and obtain the panel installation instructions before selecting fixings or accessories.
Do all slatwall hooks fit every slatwall panel?
No, you should not assume universal compatibility. Confirm the groove and insert interface, accessory seating and permitted use with the supplier before loading merchandise.
How much weight can slatwall panels hold?
Use the documented loading guidance for the actual panel, accessories and installation. A general capacity figure cannot replace checks on the wall support, fixings and complete display configuration.
Should I choose a 300mm arm or a 400mm bracket?
Choose according to the intended fixture function, merchandise dimensions and complete display projection. Length alone does not establish suitability, and a shelf configuration needs its own support and loading checks.
Can I install slatwall panels myself?
Follow the panel instructions and use an appropriately qualified installer where the work requires one. Resolve wall construction, concealed services, fixing requirements and premises approval before drilling.
Does Cheap Shelving sell slatwall panels and accessories?
Cheap Shelving lists Slatwall 2400 x 1200 and accessories including single-prong hooks, sloping arms and straight arms/shelf brackets. Confirm the selected components' compatibility and installation requirements before combining them.
Do I need to repeat the checks when I change products?
Yes, reassess the display whenever merchandise or fixtures change. Compare dimensions, weight and hanging method, then update the layout record after checking the revised arrangement.
Test the replenishment instructions, not just the finished appearance. Ask a staff member who did not arrange the wall to restore a section using only the drawing and photographs.
If they need to guess the product position, fixture or intended quantity, the handover is incomplete. Fix the record before adding more display space; a repeatable arrangement is more useful than a wall only its original organiser understands.
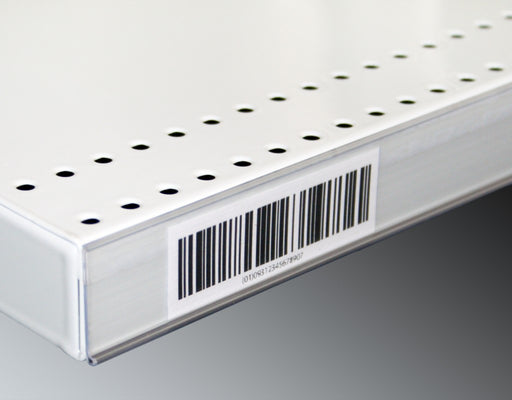
Upgrade your store's pricing and product labeling system with our Flat Adhesive Data Stripping. This cost-effective solution is designed to simplif...
View full details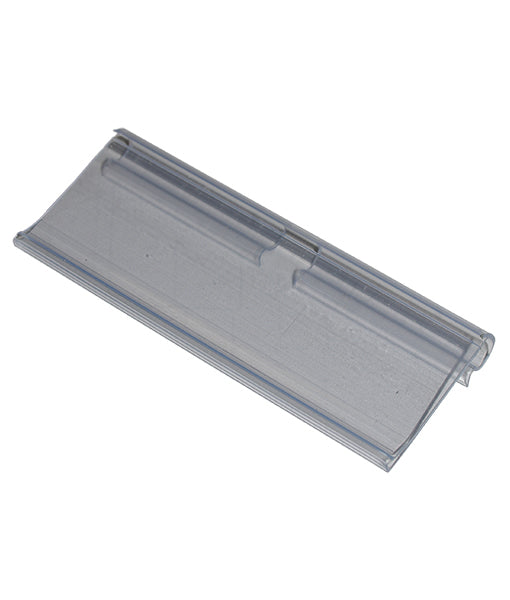
Enhance your store's product labeling and pricing system with our 100-Pack Flipper Tags. These versatile and easy-to-use tags are designed to strea...
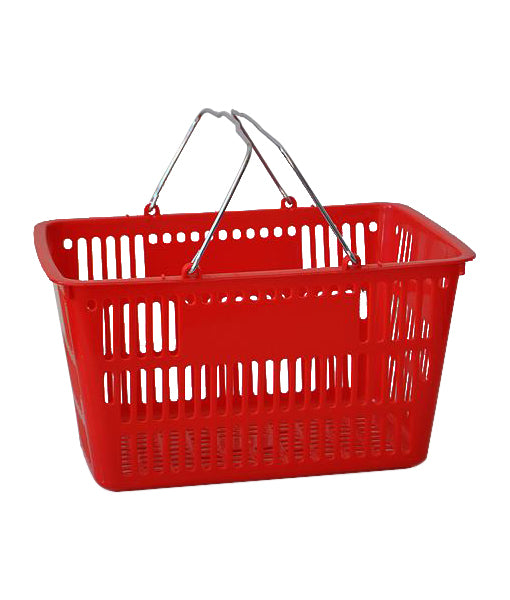
View full detailsUpgrade your customers' shopping experience with our 28 litre Shopping Baskets featuring Metal Handles. These robust and stylish baskets are design...
View full detailsRevolutionize your customers' shopping experience with our Roller Shopping Baskets. These innovative baskets are designed for maximum convenience, ...
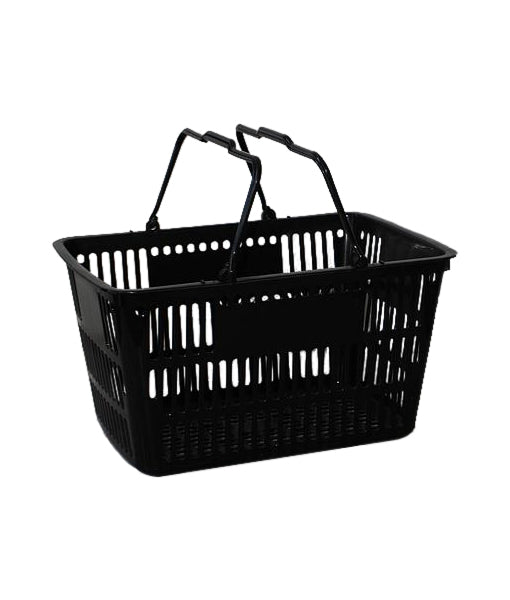
View full detailsMake shopping a breeze for your customers with our 28 Litre Shopping Baskets featuring Plastic Handles. These lightweight and sturdy baskets are de...
View full details{"one"=>"Select 2 or 3 items to compare", "other"=>"{{ count }} of 3 items selected"}