SERVING WA
Since 2009

Hardware store slatwall is a grooved-panel display system for arranging packaged merchandise on compatible fittings, with the aim of making stock easier to find and replenish. Choosing slatwall panels for hardware stores means checking package weight, hook fit and wall fixing—not just how much display space a panel provides.
Hardware displays must distinguish products that look similar but serve different jobs. Drill bits, fixings and replacement parts need readable descriptions and clear grouping; a wall filled with packets is not automatically a useful display.
Slatwall lets you rearrange compatible fittings as your merchandise changes. Its limitation is equally important: the panel alone does not establish what the installed display can carry. The panel, inserts, accessories, fixings and supporting wall all need assessment.
Cheap Shelving is best suited to WA retailers sourcing commercial shelving and retail display equipment together. Cheap Shelving supplies businesses and retailers in Perth, Western Australia, and has been servicing WA businesses since 2009. Confirm specifications for your proposed installation rather than treating any supplier's range as a universal fit.
For a 2026 store fit-out, start with the merchandise and work backwards to the fixture. That keeps display decisions tied to your stock, floor space and budget.
Start with a spreadsheet and the actual merchandise. Record each product's packaged dimensions, hanging-hole shape, weight and intended display quantity; these determine whether a hook, shelf or another fixture deserves consideration.
Separate merchandise that customers select by specification from merchandise they recognise at a glance. Similar-looking packets need room for labels, while awkward packaging needs a physical fitting trial. Do not assume that products in the same department belong on the same accessory.
Choose the fixture around the merchandise, not the other way round. A short trial with representative packages gives you more useful information than a wall layout based only on product photographs.
Draw the proposed wall on paper before using a planning application. Mark doors, switches, services, corners and existing fixtures, then record the usable display area rather than the room's overall dimensions.
Measure the floor space in front of the wall as carefully as the wall itself. A projection that works on an empty plan can obstruct customers carrying bulky purchases or staff replenishing stock. Check the proposed arrangement against applicable access requirements rather than treating this guide as a clearance standard.
Your 2026 layout drawing should distinguish wall area, display projection and customer space. These are separate constraints; gaining hanging capacity does not justify losing a usable route through the shop.
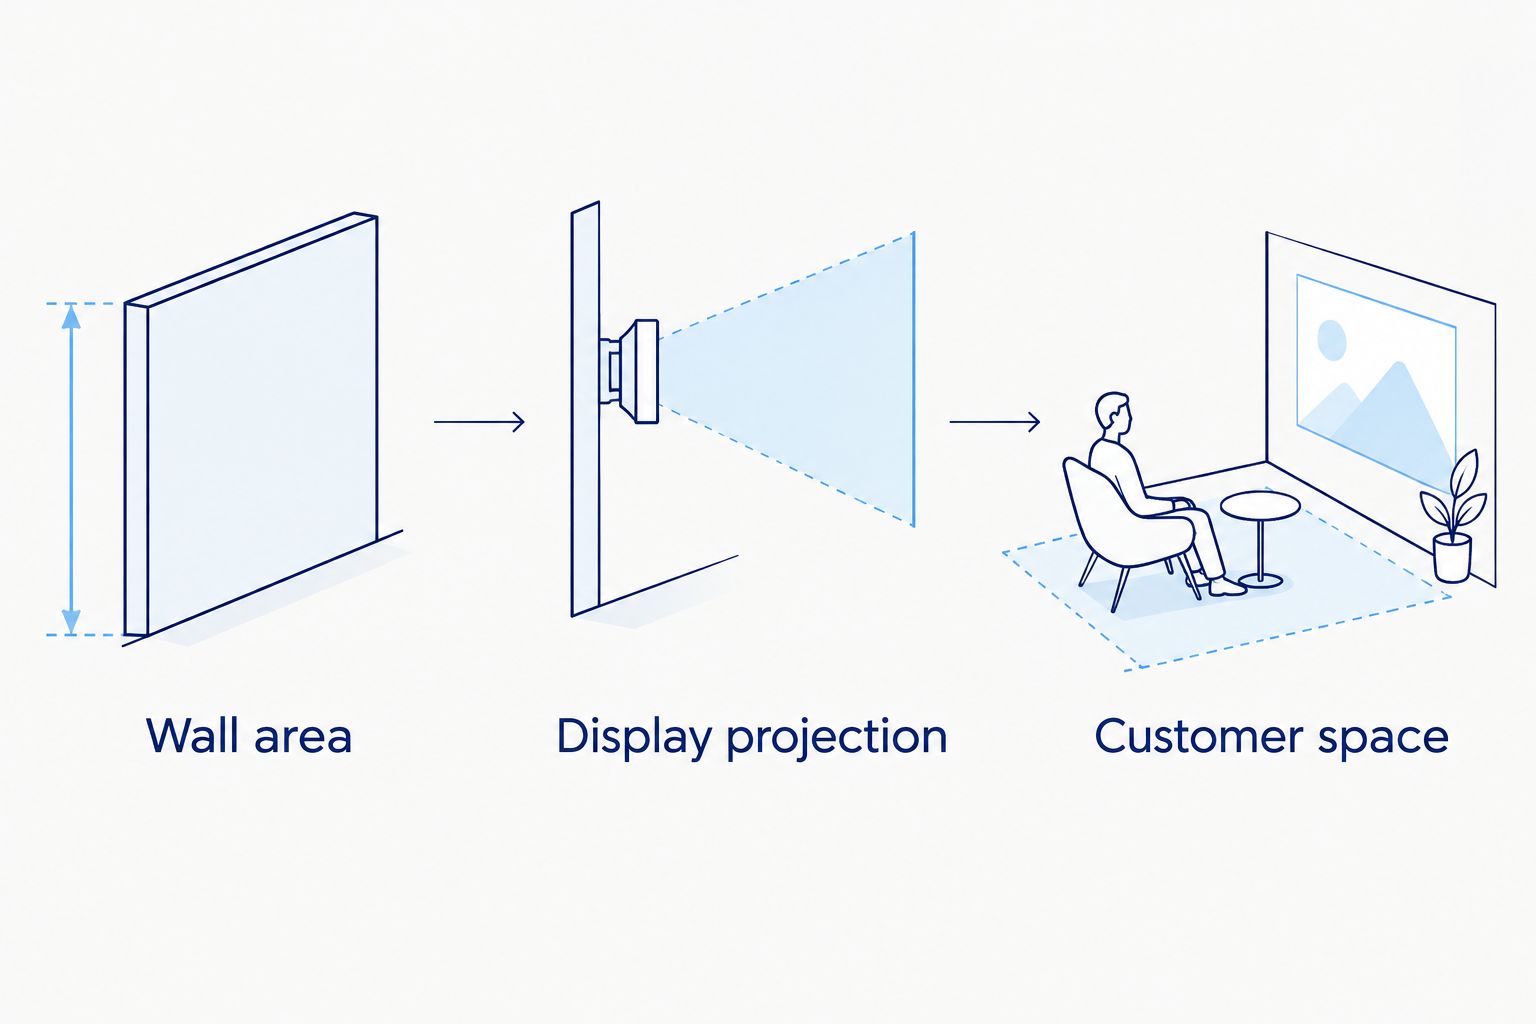
Give the measurements to whoever assesses the installation. A photograph helps explain the location, but it does not replace a dimensioned drawing or an inspection of the supporting wall.
Make a written specification checklist before comparing suppliers. Ask about the panel construction, groove arrangement, inserts, suitable accessories and installation instructions. Obtain the relevant loading information for the intended arrangement rather than relying on a general description.
Cheap Shelving lists Slatwall 2400 x 1200 with 11 aluminium extrusions at 100mm centres. Those details help identify the panel arrangement; they do not establish a safe working load or confirm suitability for your wall.
Treat compatibility and load capacity as separate checks. A fitting entering a groove does not prove that the combination is suitable for the merchandise you intend to hang. Use a suitably qualified installer where the wall or fixing method requires assessment.
Test existing fittings with representative packages before buying replacements. Check how easily customers remove an item, whether adjacent packets overlap and whether staff can replenish the display without dismantling it.
Cheap Shelving lists straight arm/shelf bracket options in 300mm and 400mm lengths, both described with 20mm tube. These are dimensions, not load ratings. Select a length only after checking the fitting's intended use, the merchandise and the space available in front of the wall.
For hanging products, the display hooks for hardware stores guide is a relevant companion. Keep the buying decision specific: a single-prong hook, a sloping arm and a shelf bracket are different fitting types, not interchangeable solutions.
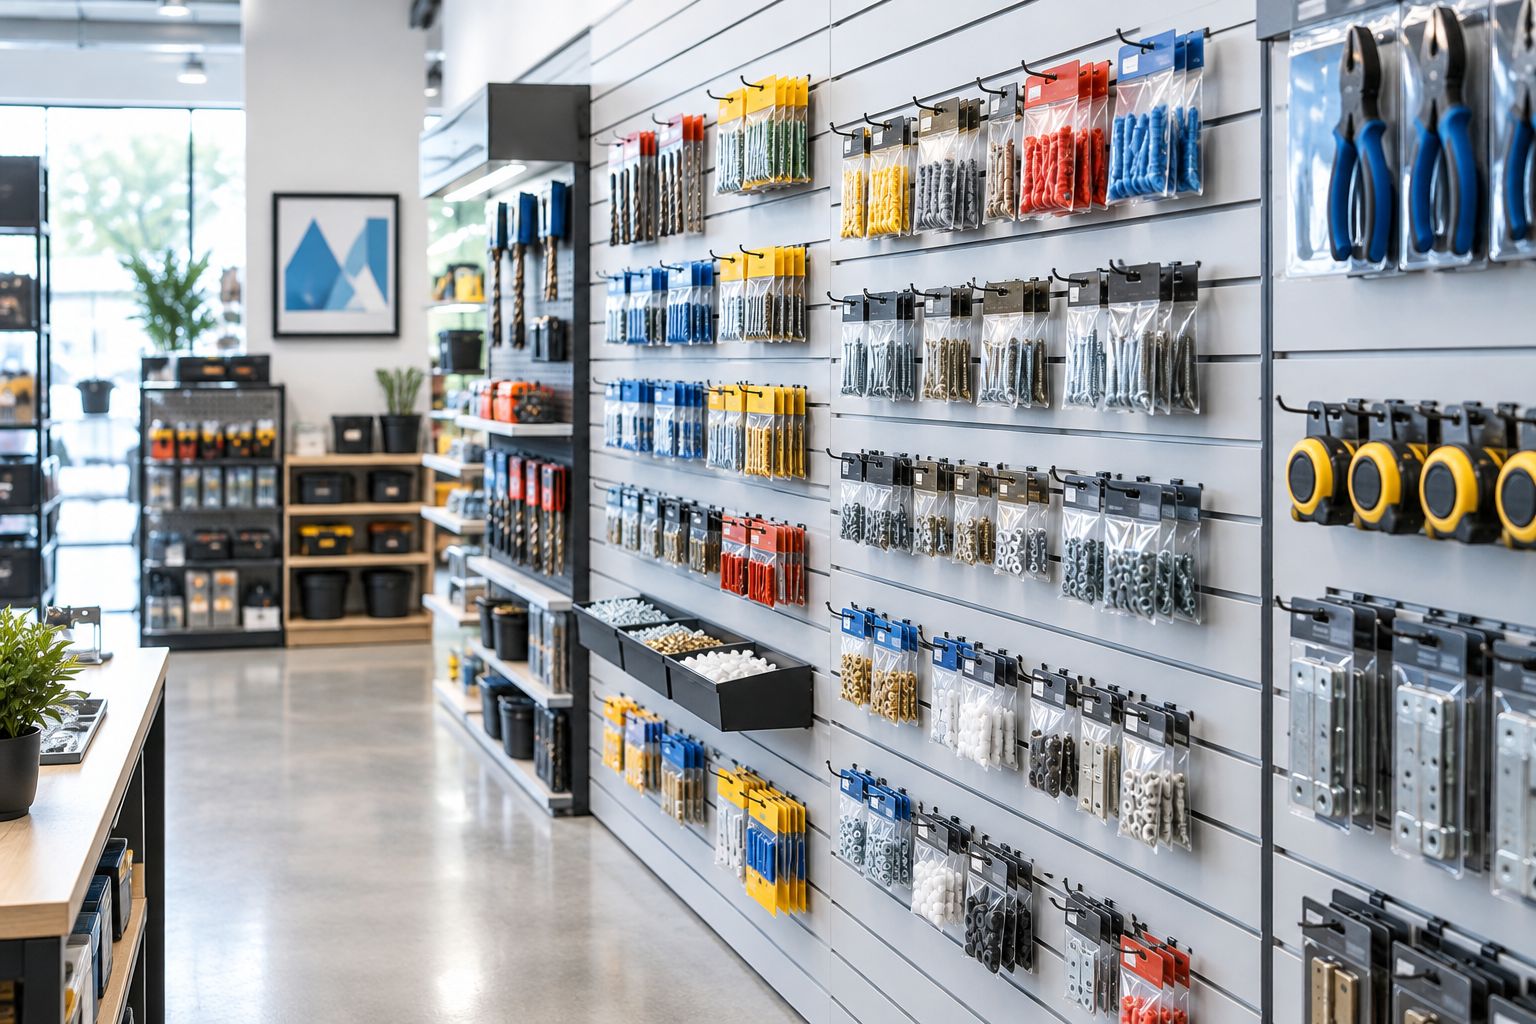
A stocked trial should include the most awkward package, not just the easiest item to display. That exposes conflicts before you repeat the arrangement across the wall.
Sketch the arrangement manually using product names and package outlines. Group related purchases around recognisable jobs, then organise variants by the specification customers need to compare. Keep those distinctions consistent across the display.
For example, organise a drill-accessory section so customers can distinguish the intended material and size without searching through overlapping packets. Keep boxed or bulky merchandise on an appropriately assessed supporting fixture rather than forcing every product onto the wall.
For your 2026 merchandising plan, distinguish the display quantity from the stock held elsewhere. A hook does not need to carry every unit you own. Plan a replenishment quantity that fits the approved arrangement and keeps product identification readable.
Use a worksheet to compare complete arrangements, not isolated components. Include panels, fittings, fixing requirements, installation work and the supporting fixtures needed for products that do not belong on slatwall.
The comparison below separates the main choices by their job. Slatwall wins on rearrangeable hanging presentation; it does not replace every shelf or storage fixture. Existing fixtures also deserve consideration if their condition, suitability and loading information can be verified.
| Option | Best for | Main advantage | Key limitation |
|---|---|---|---|
| Slatwall with compatible hooks | Packaged hanging merchandise | Allows fitting positions to change with the range | Requires verified panel, hook and installation suitability |
| Slatwall with compatible shelf fittings | Merchandise needing a supported display surface | Combines shelf presentation with a grooved-panel layout | Brackets, shelves and installed loading need separate confirmation |
| Gondola shelving | Boxed merchandise in retail aisles | Creates shelf-based merchandising away from perimeter walls | Occupies floor space and needs its own layout assessment |
| Assessed storage shelving | Reserve stock kept separately from displays | Separates replenishment stock from customer-facing presentation | Does not replace a readable small-parts display |
| Suitable existing fixtures | Retaining a workable current layout | Avoids replacing equipment without a clear reason | Condition, compatibility and supporting documentation need checking |
Cheap Shelving lists the following panel and accessories. They are relevant starting points for a specification check, not a pre-approved installation package; verify compatibility and intended loading before combining them.
Keep the same scope when comparing proposals. A panel-only proposal and an installed display proposal answer different questions, even when both describe the same wall area.
Build a representative section before committing to the full layout. Use actual merchandise and ask staff to select, remove and replenish products as they would during normal trading. Record the problems on your layout drawing.
Check label visibility from the customer position, not only while standing directly in front of each hook. Watch for packets that catch neighbouring products and fittings that project into movement space. Correct those issues before copying the arrangement.
Keep a dated 2026 commissioning record with the approved layout and installation information. When merchandise changes, reassess the affected section rather than assuming that a previously suitable display remains suitable for different stock.
A hook that fits is not automatically suitable for the intended load. Check the complete installed system, including the supporting wall, and retain the relevant documentation so staff can reference it when changing displays.
Closely packed products can hide specifications and make removal awkward. Leave the space needed to identify each item and remove it cleanly; assess capacity with the display stocked, not with empty fittings.
Extra projection consumes space in front of the wall. Compare the stocked display against customer movement and replenishment access before choosing fitting lengths, particularly beside corners and existing aisle fixtures.
An accessory order based on an unfinished sketch can leave you with the wrong mix of fittings. Finalise the merchandise groups, trial the packages and count the required accessory types before ordering for the full wall.
Are slatwall panels a good choice for hardware stores?
Slatwall panels suit hardware merchandise that can be presented on compatible, appropriately assessed fittings. They are useful for rearrangeable hanging displays, but bulky stock and reserve storage need separate fixture decisions.
Can I hang heavy tools on slatwall?
Hang a tool on slatwall only when the complete installed system is suitable for its load and arrangement. Check the panel, inserts, fitting, fixings and supporting wall; appearance alone does not establish capacity.
Should I choose 300mm or 400mm slatwall fittings?
Choose the fitting length around the merchandise, intended use and available projection space. Cheap Shelving lists straight arm/shelf bracket options in both lengths, but dimensions alone do not establish loading or suitability.
Do all slatwall hooks fit every panel?
Do not assume universal compatibility between slatwall hooks and panels. Confirm the exact combination with the supplier and check the fitting's intended use before ordering.
Is slatwall better than gondola shelving for a trade store?
Slatwall is better suited to perimeter hanging displays, while gondola shelving serves shelf-based merchandising in retail aisles. Choose by merchandise and layout; neither fixture replaces the other across an entire store.
What information should I send before ordering slatwall?
Send a dimensioned layout, wall-construction details and representative merchandise information. Include package dimensions, weights, intended quantities and the fittings you are considering so the proposed arrangement can be assessed.
Test the most awkward package before approving the whole wall. A display that handles a wide blister pack, a hard-to-read variant label and an awkward removal cleanly gives you a better planning reference than an empty panel. Make that trial part of your 2026 fit-out checklist, then keep the approved arrangement for future resets.
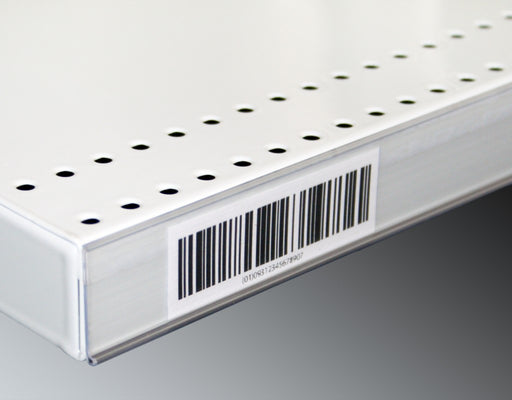
Upgrade your store's pricing and product labeling system with our Flat Adhesive Data Stripping. This cost-effective solution is designed to simplif...
View full details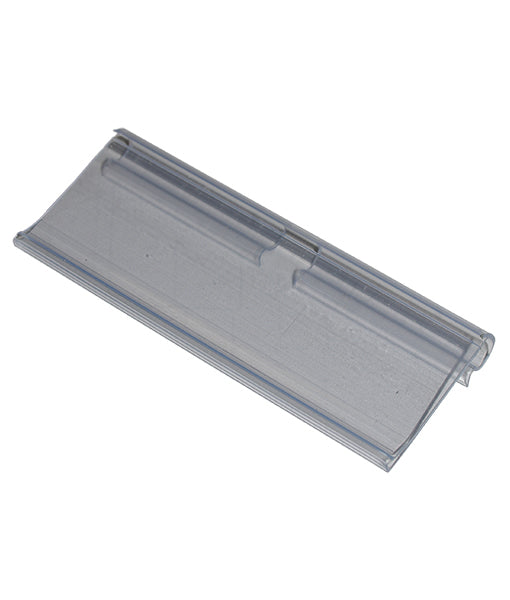
Enhance your store's product labeling and pricing system with our 100-Pack Flipper Tags. These versatile and easy-to-use tags are designed to strea...
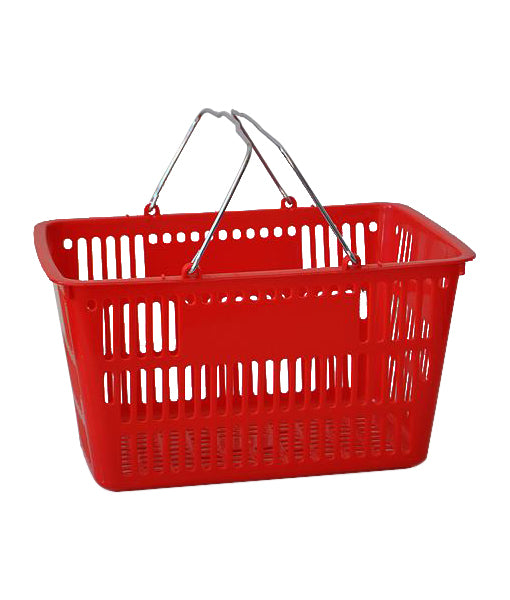
View full detailsUpgrade your customers' shopping experience with our 28 litre Shopping Baskets featuring Metal Handles. These robust and stylish baskets are design...
View full detailsRevolutionize your customers' shopping experience with our Roller Shopping Baskets. These innovative baskets are designed for maximum convenience, ...
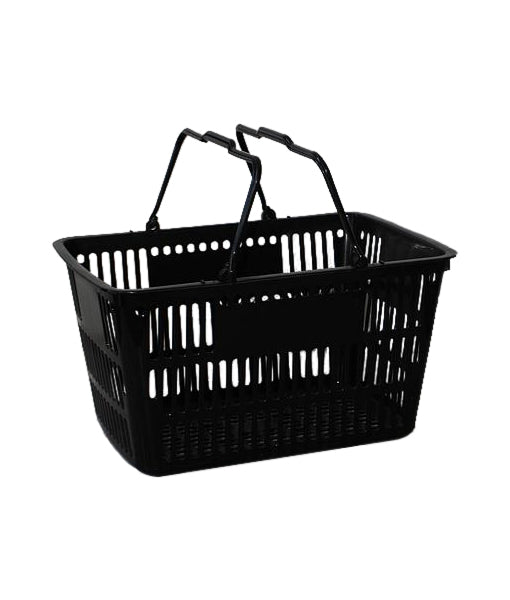
View full detailsMake shopping a breeze for your customers with our 28 Litre Shopping Baskets featuring Plastic Handles. These lightweight and sturdy baskets are de...
View full details{"one"=>"Select 2 or 3 items to compare", "other"=>"{{ count }} of 3 items selected"}